A Splash of Color
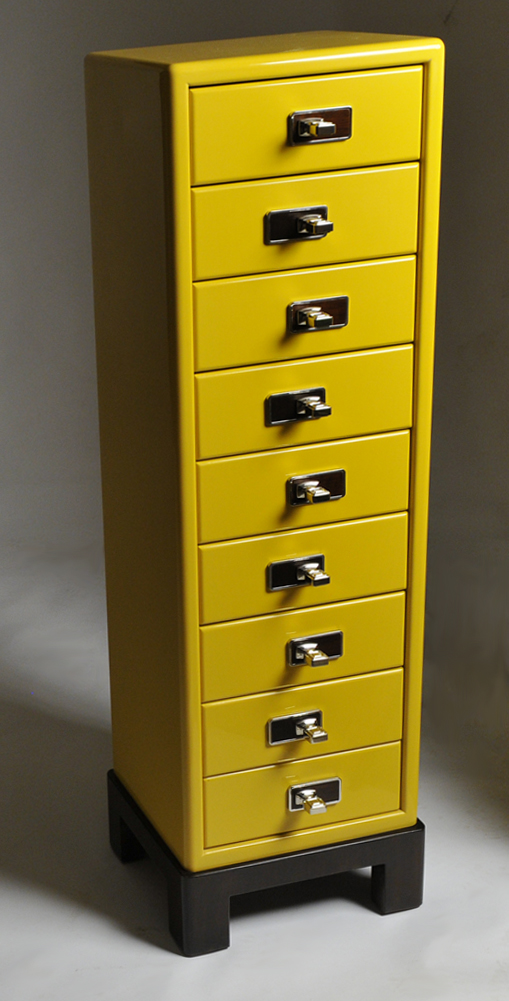
Sometimes I just get bored and want to bust things up. Nothing like a splash of color to catch people off guard and rock the house. The idea for this piece just popped into my head. I call it my buffed-up school bus!
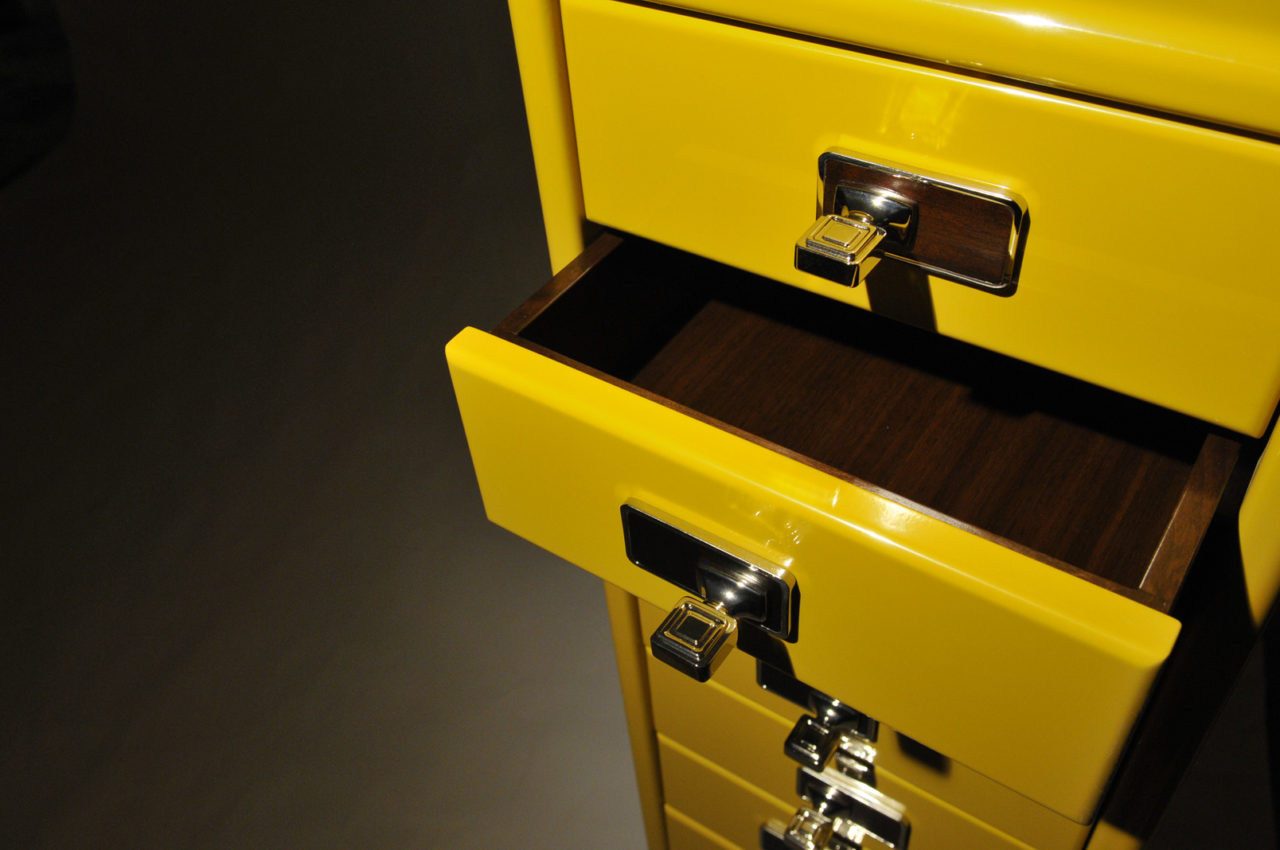
Combining bright colors and beautiful woods has always been attractive to me. The design was simple enough, but the piece actually took quite a bit of time to make. The base and the drawer interiors are black walnut and the exterior is almost a dozen layers of clear and yellow lacquer. The fun part was bringing this baby up to a glossy finish with the car buffer.
Sitting in the Garage
Unfortunately, the buffed-up school bus project had to sit in the garage for a bit because I just couldn’t come up with the right combination of hardware. I found some cool rectangular knobs, but just putting them on the piece wasn’t enough. I needed a transition between the knob and the yellow drawer face and it had to involve the black walnut. But how?
I struggled for two weeks making different back plate combinations, but nothing looked right. They were boring….. Then the idea popped into my head that the plate should be rectangular with a walnut interior and a shiny rim. And, to be a bit unpredictable, they shouldn’t align.

I had plenty of walnut, but where was I going to find the rectangular frame? After calling around a bit and searching the internet, I found a source for rectangular stainless steel tubing and connected with a local metal fabricator. After another two weeks, I had my metal frames and I was ready to finish the detailing.
Detailing My Bus
As it turned out, I finished the last bit of work on the backplates and it was six o’clock. The dinner bell was ringing and I was being urged to head home. But not before I attached one backplate/knob combination. I just HAD to see what it would look like. And like an excited kid, I couldn’t stop. I had to put ALL of them on before heading home! It was fun and I couldn’t wait to photograph it!