A New Direction, Silver and Palladium Leaf Lamps
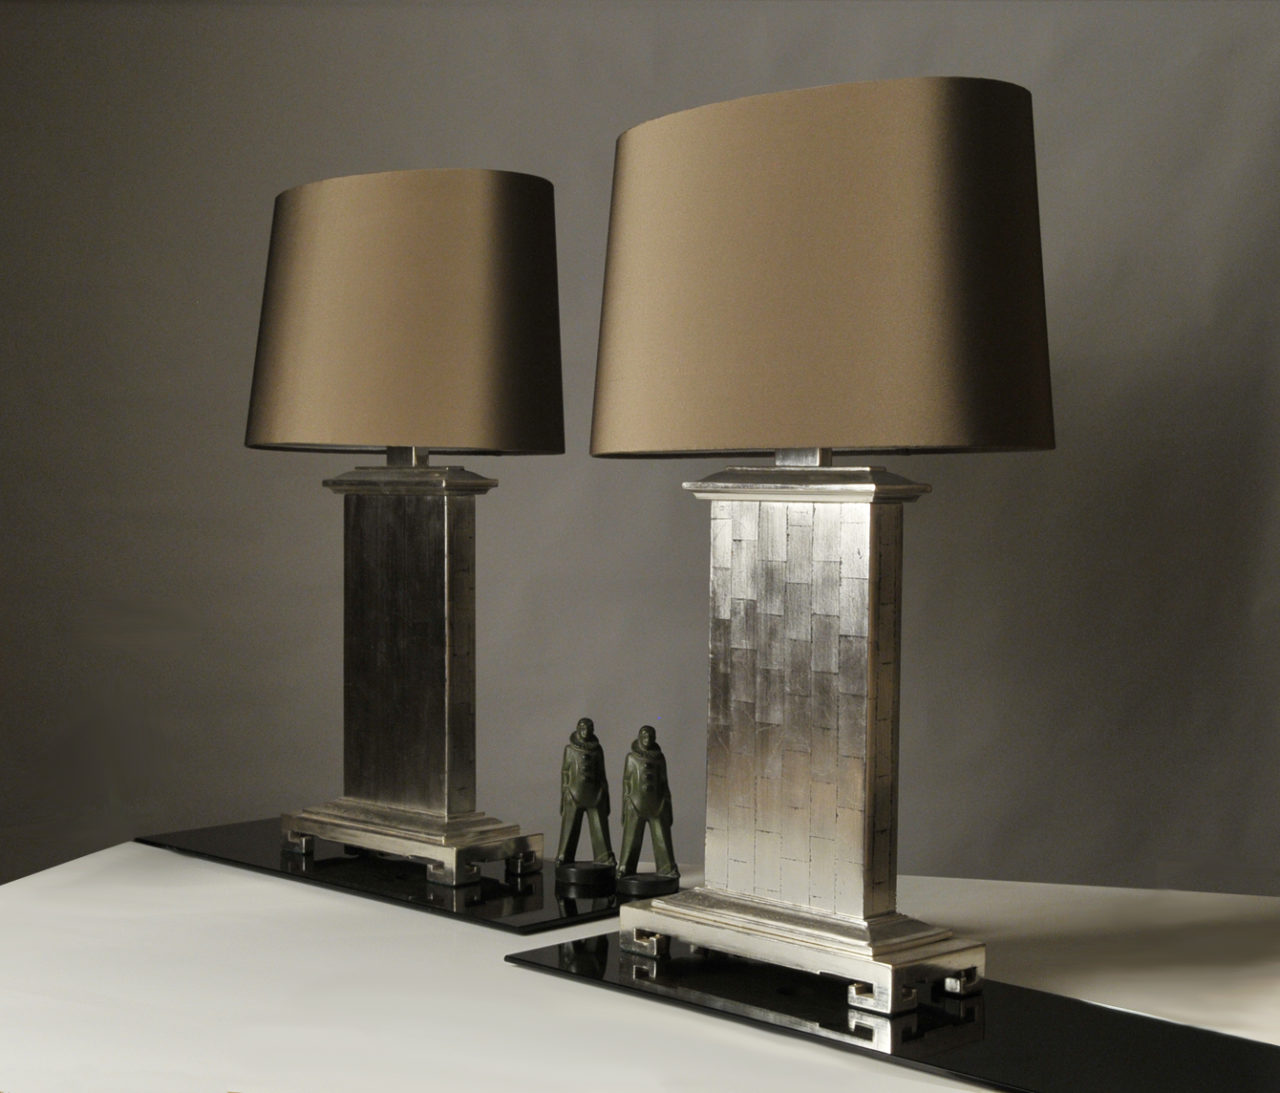
In the spring of 2016, I was flipping through an interior design book and came across a silver table lamp crowned with a red silk shade. It’s beauty captivated me, and I began to think about the possibilities which soon led me astray. So, for the next few weeks, I satisfied my creative needs by producing lamps like the silver and palladium leaf ones shown above.
Though deeply inspired, I wanted to transcend the simplicity of what I had seen. Both my lamp and theirs conveyed a sense of “stability” with flared bases, only mine was to be a bit more elaborate. I also felt the need to embellish the top with a “cap” to properly “finish it off.” So I put my rough ideas down on paper and then quickly jumped to creating scale drawings, which confirmed I was right on track.
Building the Lamps
White Oak was the wood of choice, and all of the pieces were either cut on a table saw, or were shaped with a router. The main body was hollow, to reduce weight, and all of the components were brought together with a threaded rod and/or set of screws.
Deciding Upon the Finish
In order to clarify my thoughts on finishes, I needed to draw on the creativity of my guilder friend and fellow Beaconite, Janine Lambers http://janinelambers.com She’s so talented and together we decided upon a silver and palladium leaf finish, having previously collaborated on a palladium vitrine we built several years ago https://markluedeman.com/palladium-vitrine/ We knew the results would be stunning.
Apply the Finish
Once the pair of lamps were built, I placed them in my car for the short drive through Beacon to Janine’s house. In the coming days, while the two of us were mulling over different finishing techniques, Janine noticed some small cracks in the main body. Both of us knew this might occur, but didn’t think it would happen so soon. So Janine pulled a rabbit out of her hat and remedied the situation with a fantastic, hush, hush, top secret solution! In hindsight, the cracking was a blessing because because it helped improved our product.
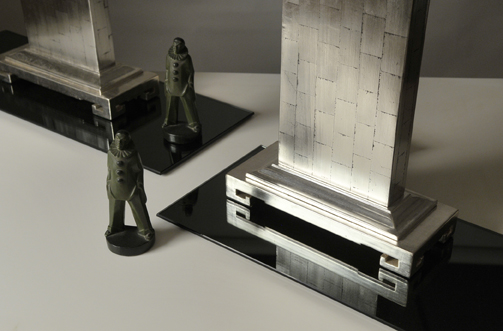
For next few weeks, the two of us went back and forth looking at the samples. Moving ahead, we agreed that the silver would be applied to the cap and base, with the intent that it would tarnish in time. Then I would clear coat it. The center section would receive palladium and remain forever shiny.
From early on in this project, I wanted the center section to have this “block like” appearance, similar to a lamp of white oak and tiger maple I had just completed. The challenge for Janine was figuring out how to trim down the delicate sheets of palladium leaf without tearing them, and then applying them per my design. No small task, but she learned a few new tricks and as you can see, she did a beautiful job.
As to the silver, I didn’t let it tarnish. I chickened out. Or should I say, I fell in love with the bright shiny silver next to the slightly duller palladium. I’m very happy with the results.
The Final Touches
From the beginning, it was my intent to create something special. The silver and palladium leaf was special in its own right, but I also needed to find light sockets and wiring of the same caliber. I found a company in Massachusetts that sold fixtures which were cast, as opposed to stamped out of thin metal, and the quality showed.
And finally the shades. I took one of my babies to the finest manufacturer in New York City and the owner was duly impressed. She suggested I continue making one-of-a-kind lamps and offered to connect me with a website specializing in custom lighting. Together we found two beautiful silk options, but her prices were a bit too rich for my budget. So I moved on to a second manufacturer I had used before, and together we found several options. They too, were expensive, but if you’re gonna make a splash, you gotta spend some money. And in the end, it was worth it.